
Page 6 - Manual – Chamber vacuum sealer G21 – Virtuous
P. 6
Operating Instructions
Plug the power cord into the socket - the device will go into standby mode, the display will
show „OFF“.
Press the Power/Stop button, the device will go into standby working state, the display will
show „ON“.
If the display shows „CLO“ after pressing the Power/Stop button, the device is in
protection mode. Open the lid to continue. If the lid cannot be opened, press the Power/Stop.
button for 2-3 seconds.
How to vacuum with sealing bags
In order to extend the life of the vacuum sealer, we recommend that you take a break of at least
20 seconds between each seal.
Choose the right size vacuum bag and put the food you want to vacuum into it. There should be
at least 5 cm of free space between the food and the top of the bag for proper sealing.
Press the Seal button and then use the and buttons to select the sealing time
with the Smart vac and Customized vac programs, you only need to do this step once, the
device remembers the setting).
Vacuum mode selection (Smart vac or Customized Vac ) )
If you are using Smart Vacuum mode, press the Smart Vac/Bag size button and select
the appropriate bag size (L, M, S).
d
o
m m
e
e
r
, p
d V
e
z
a
u
u
c
s
z
i
m
e
c
a
d V
e C
h
s t
u
o
t
s
r
u a
e u
i
s
If you are using the Customized Vacuum mode, press the Customized Vac
If you are using the Customized Vacuum mode, press the Customized Vac button and then
I
o
f y
t
s
i
o
m
g t
n
h
u
e C
use and buttons to set the desired vacuum time.
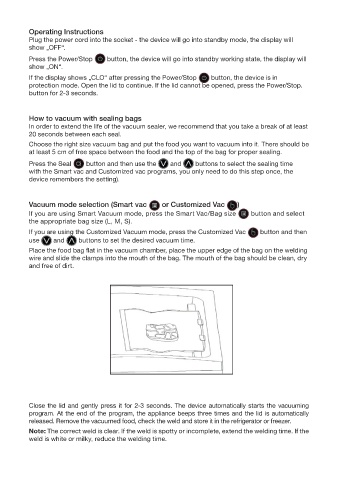
Place the food bag fl at in the vacuum chamber, place the upper edge of the bag on the welding
wire and slide the clamps into the mouth of the bag. The mouth of the bag should be clean, dry
and free of dirt.
Close the lid and gently press it for 2-3 seconds. The device automatically starts the vacuuming
program. At the end of the program, the appliance beeps three times and the lid is automatically
released. Remove the vacuumed food, check the weld and store it in the refrigerator or freezer.
Note: The correct weld is clear. If the weld is spotty or incomplete, extend the welding time. If the
weld is white or milky, reduce the welding time.