
Page 7 - Manual – Food Dehydrator G21 – Bora
P. 7
Using your dehydrator
1. Put the clean food on the trays – do not overload the trays and never overlap the food. Close
the door.
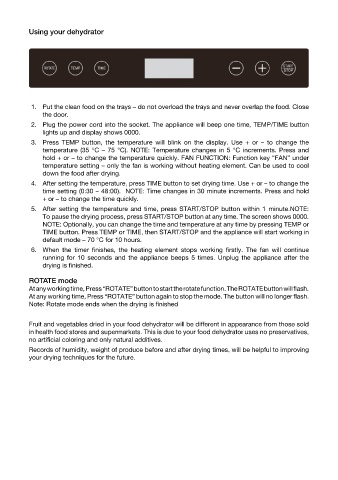
2. Plug the power cord into the socket. The appliance will beep one time, TEMP/TIME button
lights up and display shows 0000.
3. Press TEMP button, the temperature will blink on the display. Use + or – to change the
temperature (35 °C – 75 °C). NOTE: Temperature changes in 5 °C increments. Press and
hold + or – to change the temperature quickly. FAN FUNCTION: Function key “FAN” under
temperature setting – only the fan is working without heating element. Can be used to cool
down the food after drying.
4. After setting the temperature, press TIME button to set drying time. Use + or – to change the
time setting (0:30 – 48:00). NOTE: Time changes in 30 minute increments. Press and hold
+ or – to change the time quickly.
5. After setting the temperature and time, press START/STOP button within 1 minute.NOTE:
To pause the drying process, press START/STOP button at any time. The screen shows 0000.
NOTE: Optionally, you can change the time and temperature at any time by pressing TEMP or
TIME button. Press TEMP or TIME, then START/STOP and the appliance will start working in
default mode – 70 °C for 10 hours.
6. When the timer finishes, the heating element stops working firstly. The fan will continue
running for 10 seconds and the appliance beeps 5 times. Unplug the appliance after the
drying is finished.
ROTATE mode
At any working time, Press “ROTATE” button to start the rotate function. The ROTATE button will flash.
At any working time, Press “ROTATE” button again to stop the mode. The button will no longer flash.
Note: Rotate mode ends when the drying is finished
Fruit and vegetables dried in your food dehydrator will be different in appearance from those sold
in health food stores and supermarkets. This is due to your food dehydrator uses no preservatives,
no artificial coloring and only natural additives.
Records of humidity, weight of produce before and after drying times, will be helpful to improving
your drying techniques for the future.